Are you a Cloudflare domain owner looking to redirect your domain hassle-free? Enter RedirHub – a powerful and user-friendly tool designed to simplify domain redirection. In this guide, we’ll walk you through the process with clear instructions and helpful screenshots, empowering you to leverage RedirHub and enhance your online presence effortlessly.
Why Choose RedirHub:
Discover the many advantages RedirHub offers for redirecting your Cloudflare domain:
1. Automated HTTPS Support and SSL Certificates:
RedirHub’s standout feature is its automatic activation of HTTPS for your redirected domains. This ensures a secure browsing experience for visitors and simplifies SSL certificate management. RedirHub takes care of the technicalities, letting you focus on your content.
2. Analytics for Domain Traffic:
Gain valuable insights with RedirHub’s built-in analytics console. Track important metrics like visits and user demographics in a centralized and easy-to-use dashboard. Make informed decisions to optimize your online strategy.
3. Custom Redirects with Different Slugs:
Managing multiple domains is made easy with RedirHub’s bulk redirect functionality. Redirect several domains simultaneously, each with a unique slug. Perfect for users overseeing various projects or brands under a single Cloudflare account.
Step-by-Step Guide:
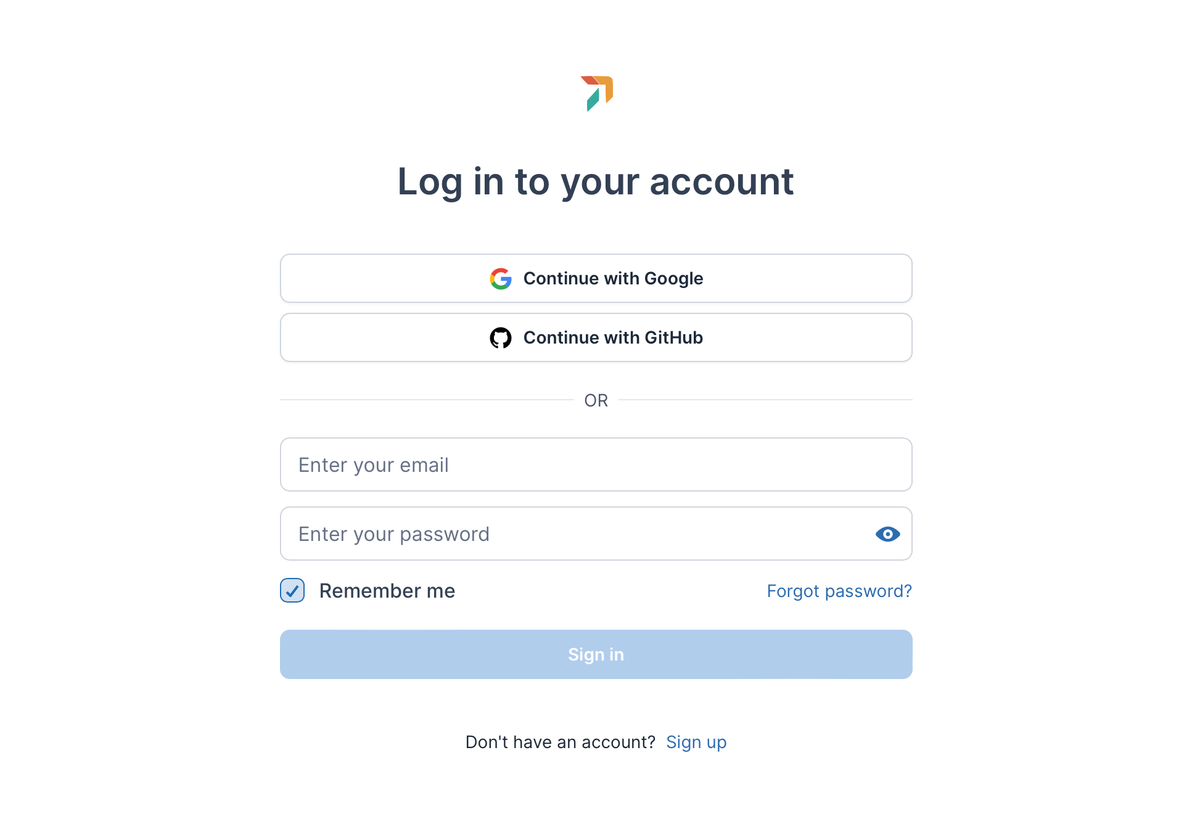
Step 1: Sign in to RedirHub
Start your RedirHub journey by logging into your account. If you’re new, sign up for free to access the platform’s robust domain redirection features.
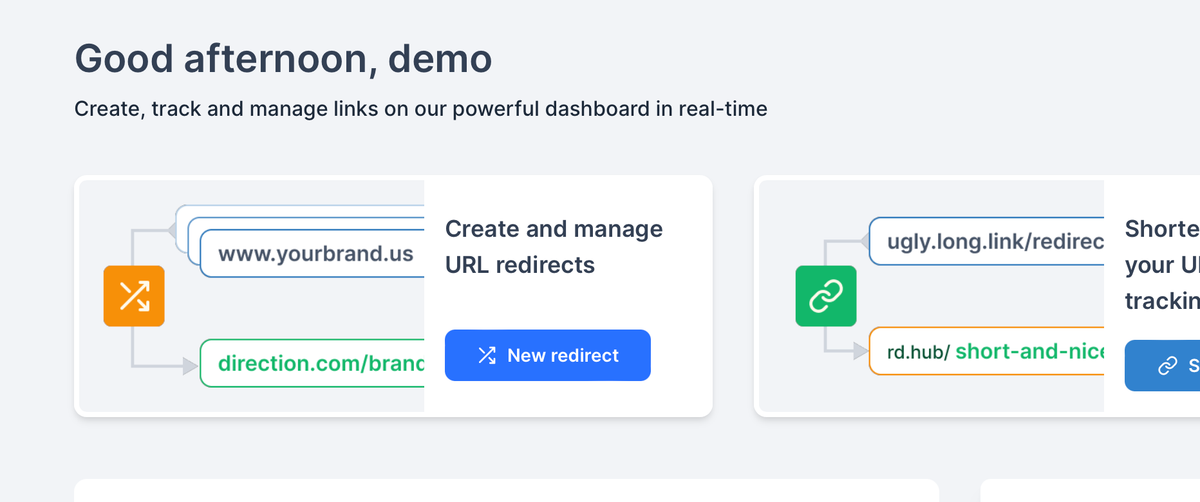
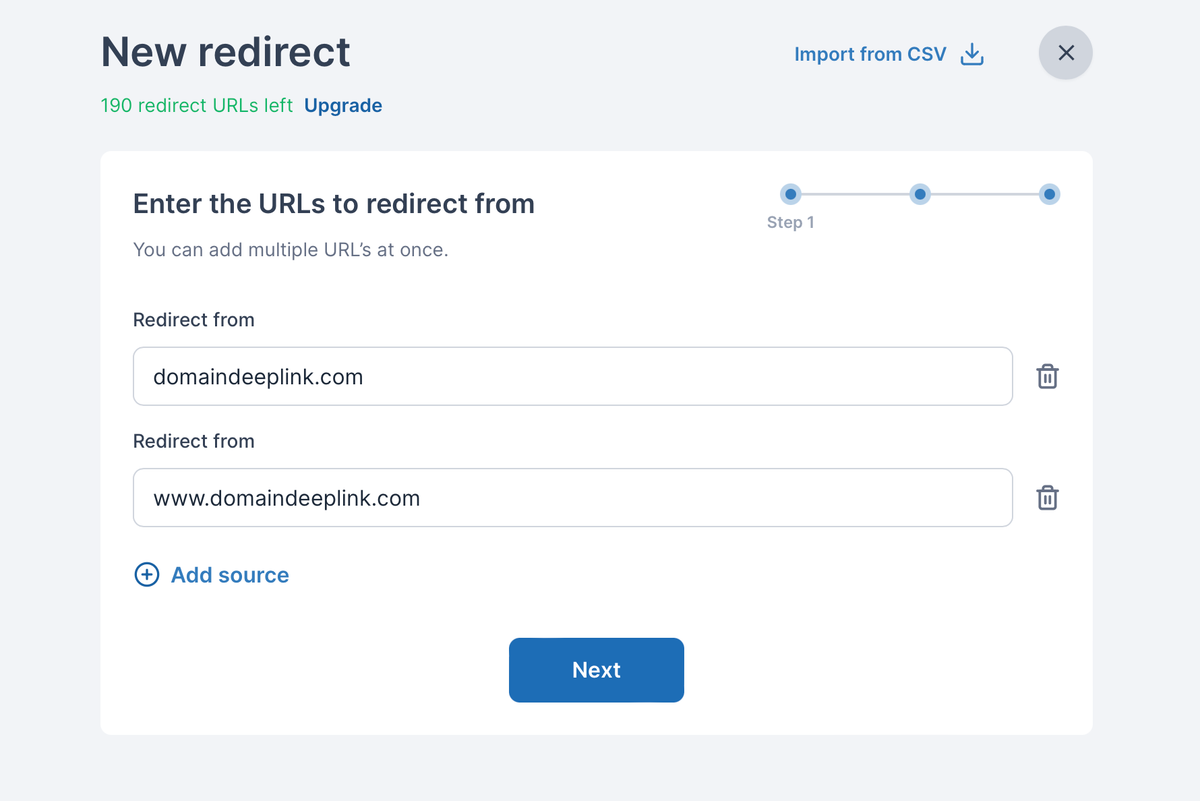
Step 2: Add Your Cloudflare Domain
Once logged in, head to the dashboard and click “New Redirect.” Enter your Cloudflare domain name and follow the prompts to verify ownership.
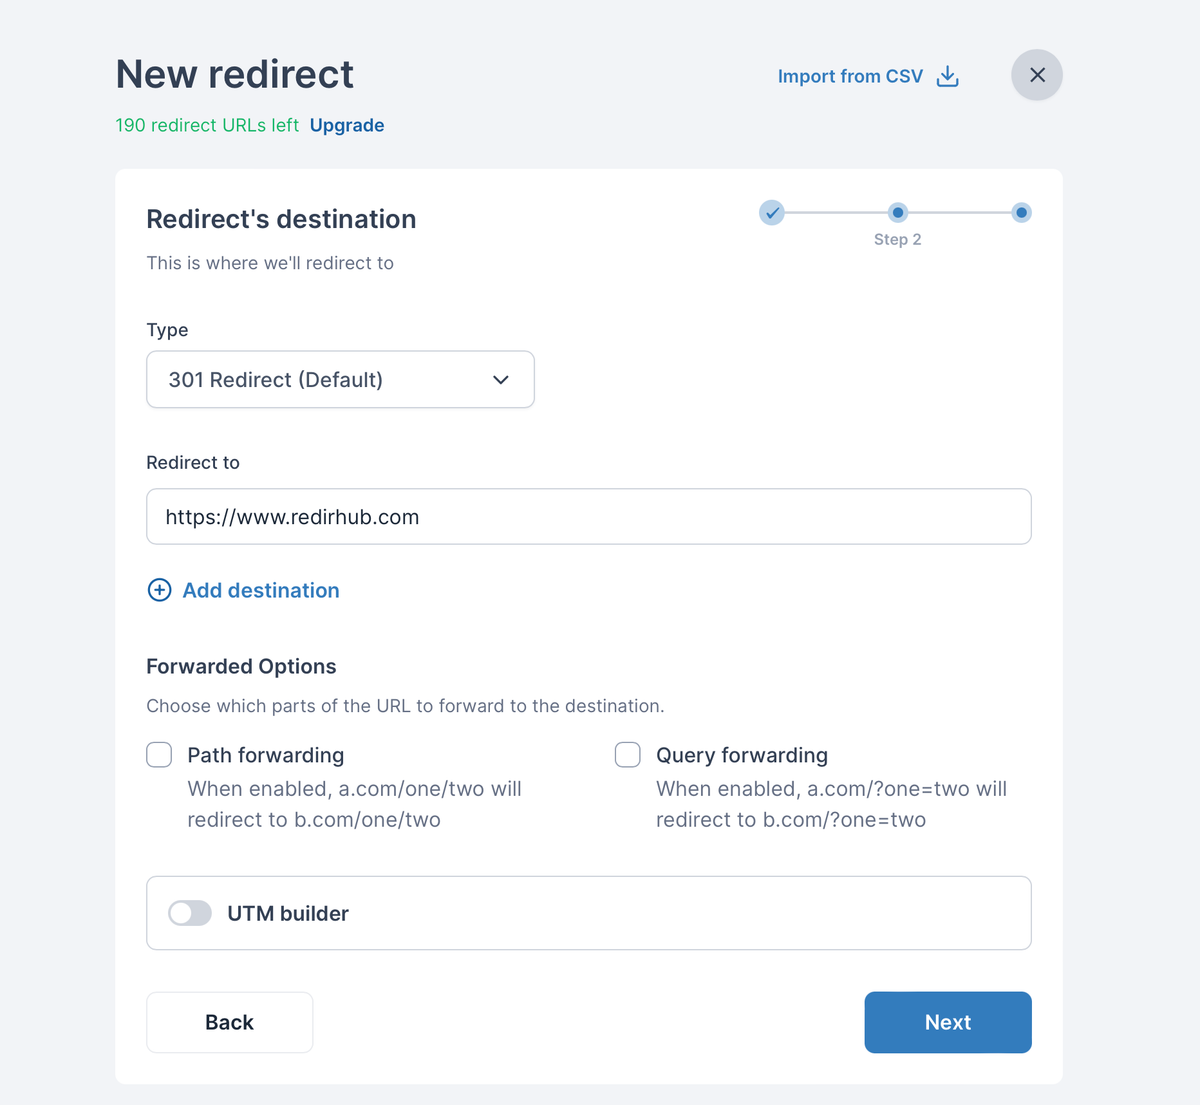
Step 3: Configure Redirection Settings
In the configuration settings, input the destination URL for your domain. RedirHub’s intuitive interface makes this step simple for users of all experience levels.
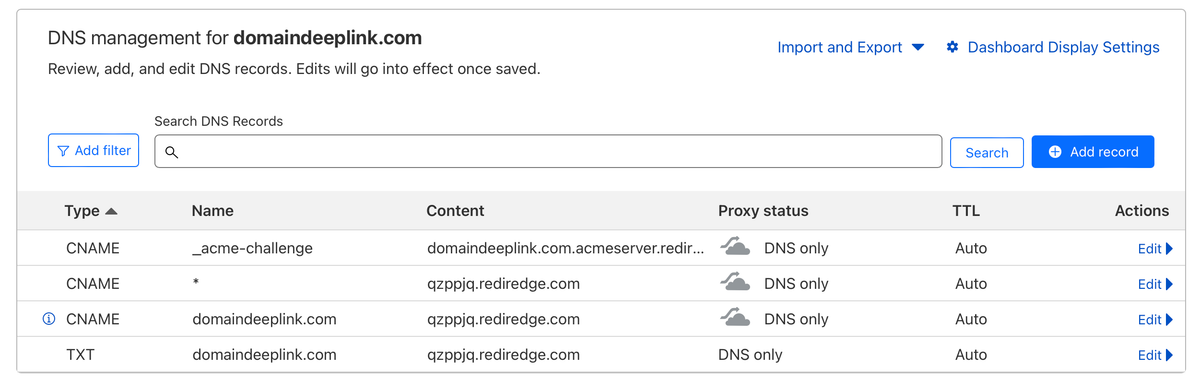
Step 4: Configure DNS on Cloudflare, Enable Redirect, and HTTPS Support
After setting up redirection, you’ll see a Hostname configuration details screen. Go to your Cloudflare domain dashboard and update the DNS settings accordingly.
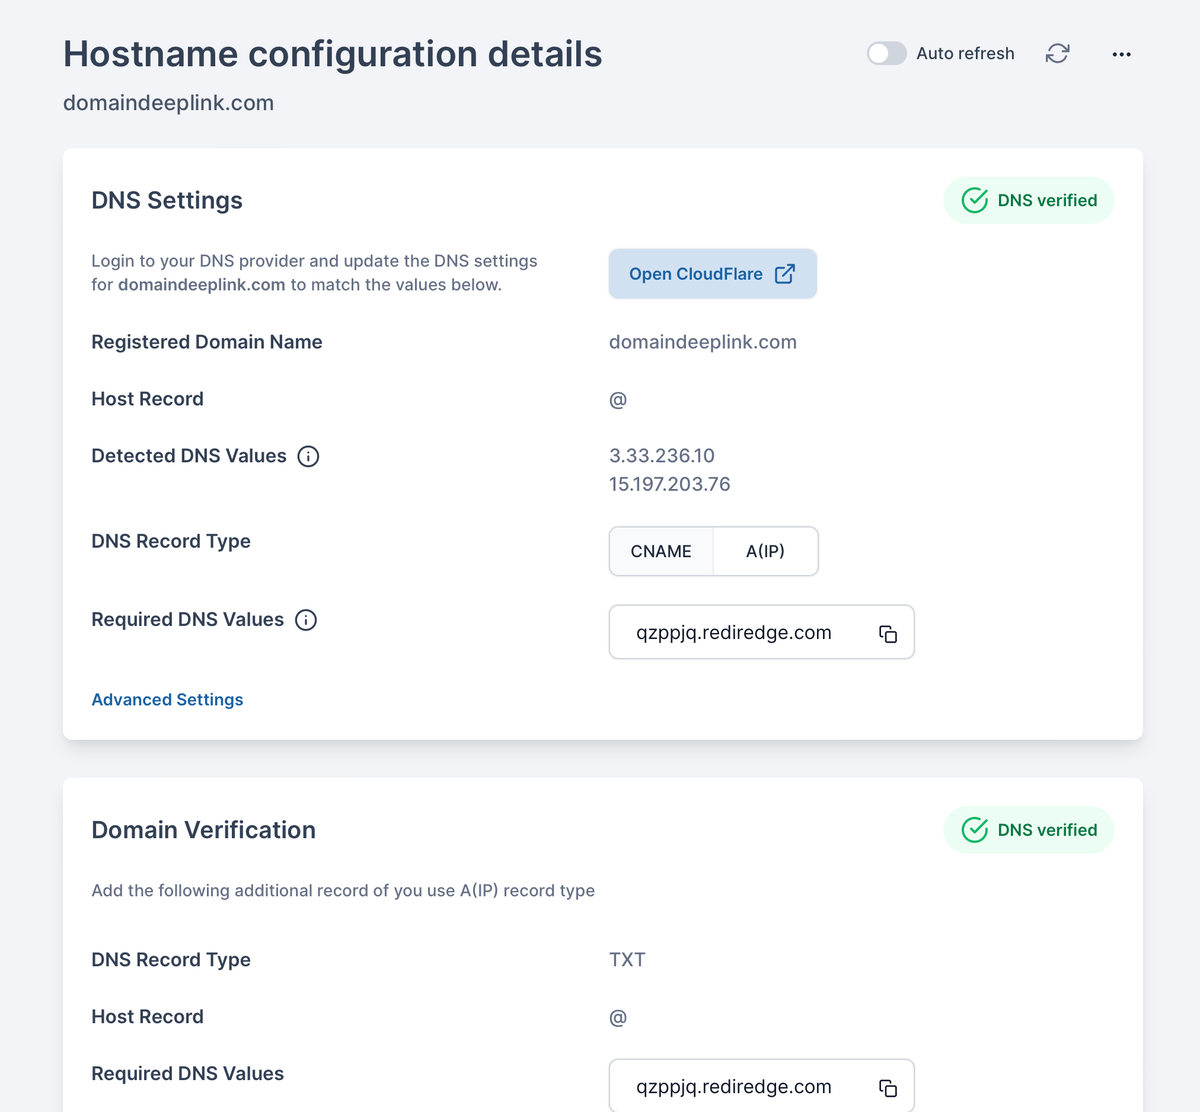
Before proceeding, clear any existing DNS records on the same hostname with types CNAME, A, or AAAA.
Once the DNS configurations are updated, RedirHub will automatically generate an SSL certificate, ensuring a secure and encrypted connection.
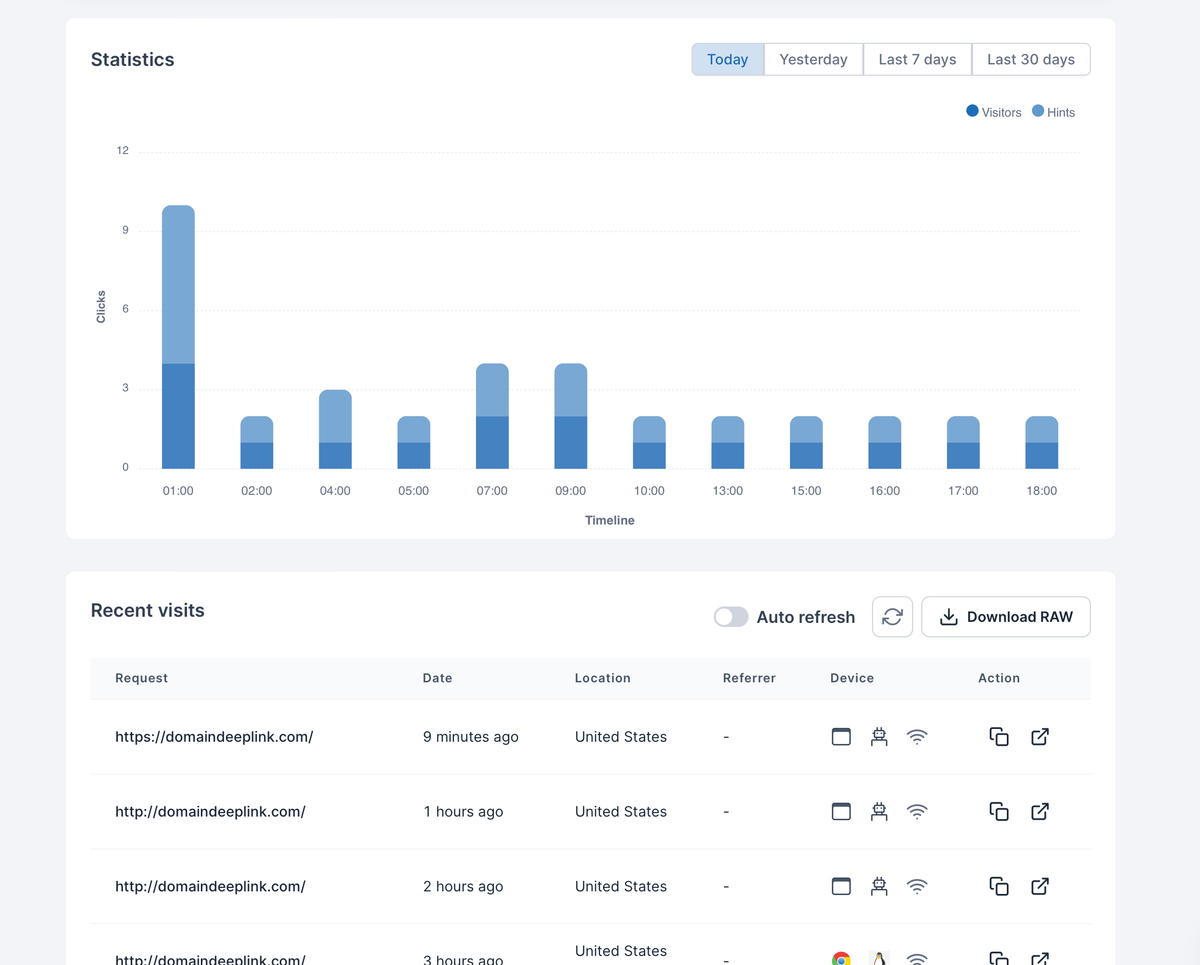
Step 5: Explore Analytics Console
Navigate to the analytics section of your RedirHub dashboard to monitor your domain’s performance. Track important metrics like visits, user locations, and referral sources for valuable insights.
Step 6: Bulk Redirect with Different Slugs
For users managing multiple domains, RedirHub streamlines the process with its bulk redirect feature. Input destination URLs and respective slugs for each domain, then initiate the bulk redirection process.
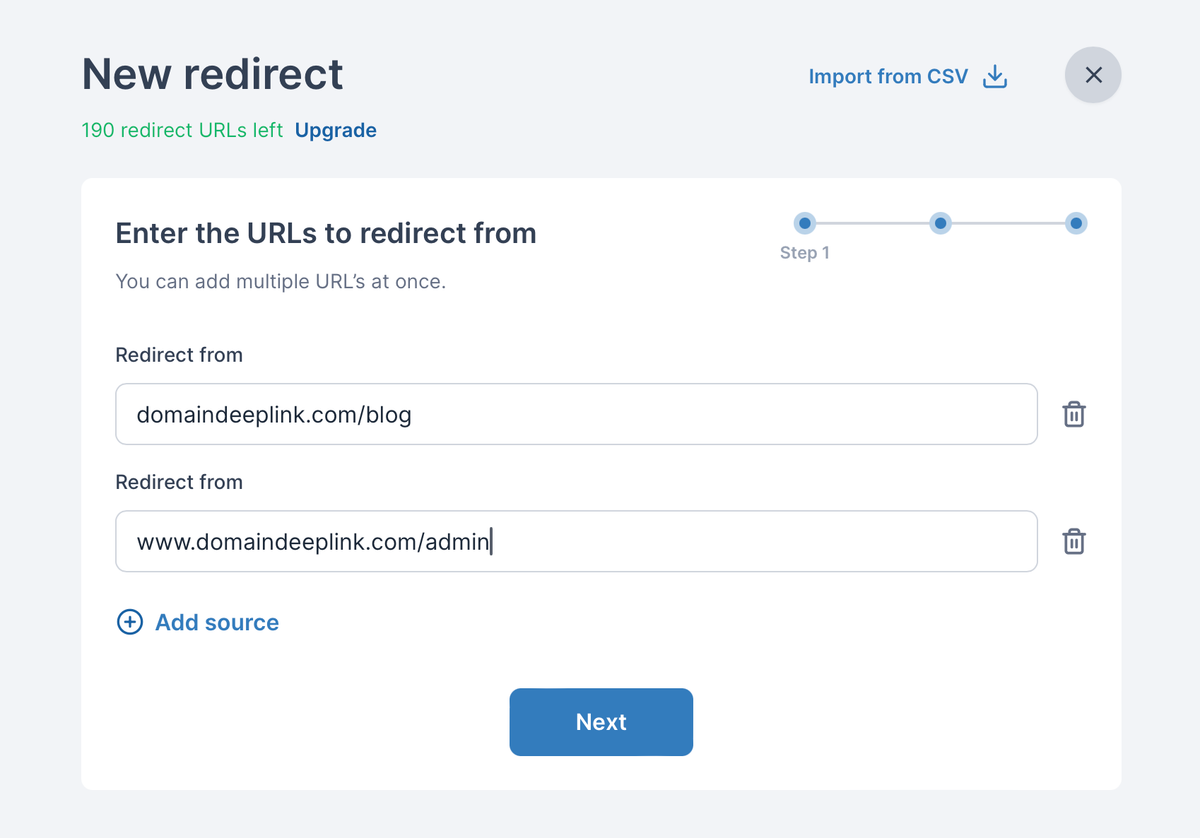
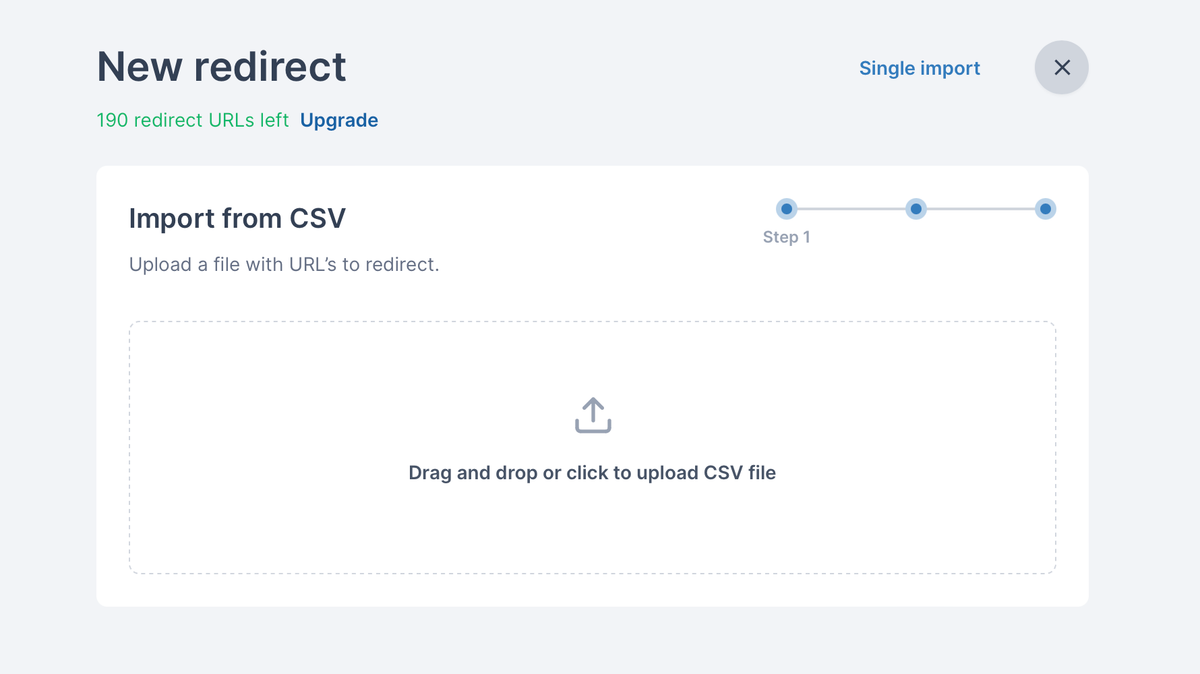
Alternatively, add redirects by uploading a CSV file.
Conclusion:
With RedirHub, redirecting your Cloudflare domain becomes a breeze. Enjoy the convenience of automated HTTPS activation, SSL certificate generation, in-depth analytics, and efficient bulk redirection with various domains and slugs. Take control of your online presence and enhance your user experience with RedirHub’s user-friendly platform. Sign up today and revolutionize how you manage and redirect your Cloudflare domains, all without spending a dime.